
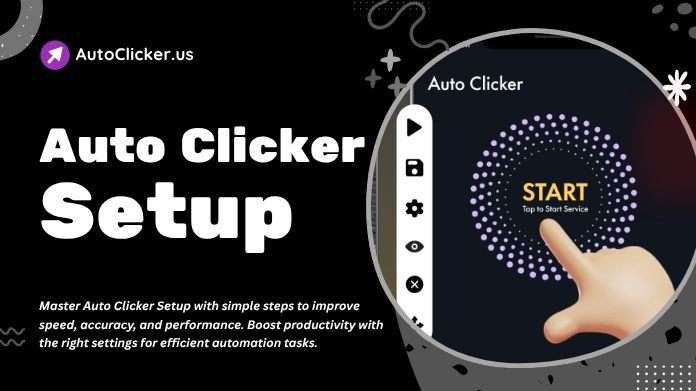
Setting up an Auto Clicker correctly can make a huge difference in how efficiently you perform repetitive tasks. Whether you are using it for gaming, software testing, or everyday work, a proper Auto Clicker Setup ensures smooth performance, accurate clicks, and optimal speed.
Many users install an auto clicker but struggle to achieve the best results due to incorrect settings or a lack of understanding. By learning the right configuration methods, you can avoid common mistakes and improve productivity.
In this guide, we will walk you through simple, effective steps to achieve the perfect Auto Clicker, helping you save time, reduce effort, and achieve maximum efficiency with your automation tool.
Table of Contents
Introduction to Auto Clicker Setup
A proper Auto Clicker Setup ensures that your automation runs smoothly without errors or system lag. Many users install an Auto Clicker but fail to configure it correctly, resulting in poor performance.
By understanding the right settings and techniques, you can optimize your auto clicker for both speed and accuracy.
Easy Auto Clicker Setup for Faster Automation
Step 1: Choose the Right Auto Clicker Tool
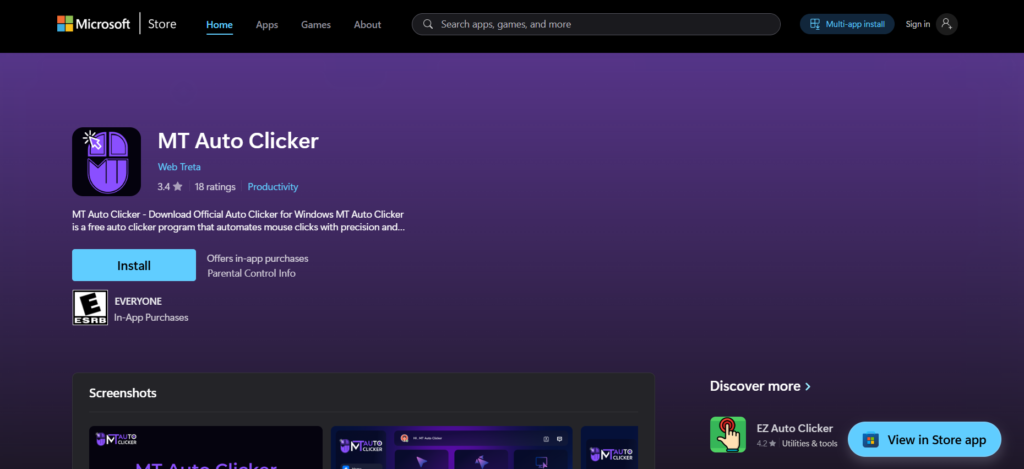
Before starting your Auto Clicker Setup, you need a reliable tool.
Popular options include:
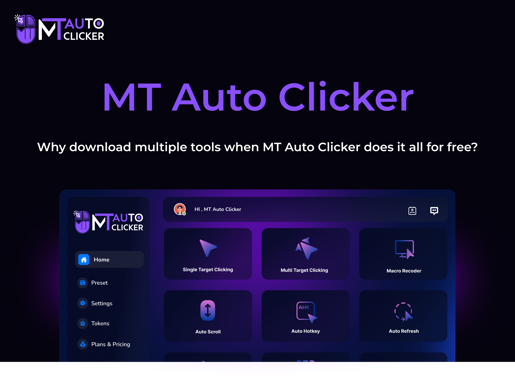
- MT Auto Clicker
- OP Auto Clicker
- GS Auto Clicker
Choose a tool that offers:
- Custom click intervals
- Hotkey support
- Fixed position clicking
Step 2: Install and Launch the Software
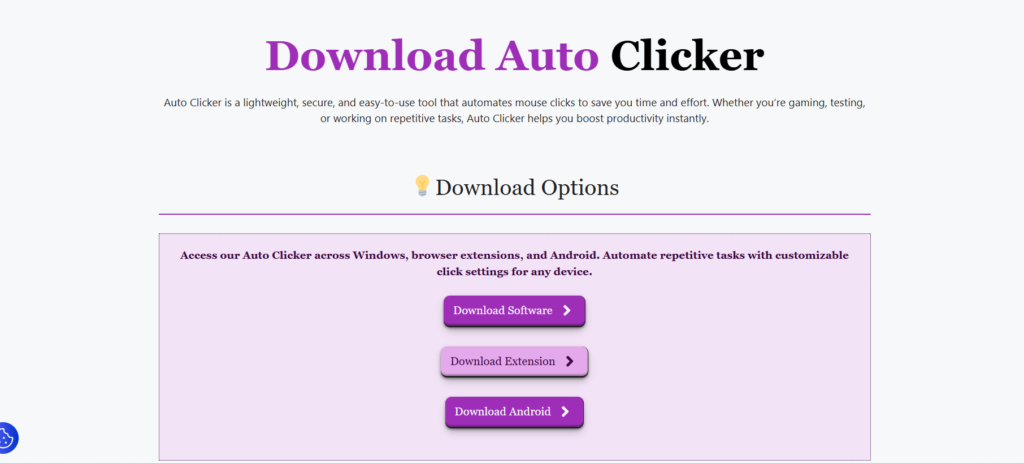
After selecting your tool, install it on your PC.
Steps:
- Download from the official website.
- Install the application
- Launch the program
This is the first practical stage of your Auto Clicker Setup.
Step 3: Configure Click Interval
Click interval determines how fast your auto clicker will operate.
Recommended Settings:
- 10–50 ms → Gaming (fast)
- 100–500 ms → Work (stable)
Setting the right interval is a critical part of Auto Clicker.
⚠️ Avoid extremely low values (1–5 ms) as they can cause system lag.
Step 4: Select Click Type
Most tasks require a simple left click, but you can also choose:
- Right click
- Double click
For most use cases, left-click works best in your Auto Clicker Setup.
Step 5: Set Repeat Mode
You can configure how many times the auto clicker runs:
- Fixed number of clicks
- Infinite clicking
Recommendation:
- Use infinite mode for continuous tasks.
- Use fixed mode for controlled automation.
Repeat mode plays a big role in efficient Auto Clicker Setup.
Step 6: Choose Click Position
You have two options:
1. Current Location
Clicks wherever your cursor is placed.
2. Fixed Position
Clicks at a specific screen coordinate.
For accuracy, a fixed position is recommended in your Auto Clicker Setup.
Step 7: Assign Hotkeys
Hotkeys allow quick start and stop of the auto clicker.
Example:
- F6 → Start
- F6 → Stop
Make sure the key does not conflict with other programs. This step is essential for a smooth Auto Clicker Setup.
Step 8: Test Your Settings
Before using it in real tasks, test your setup.
How to Test:
- Open a simple webpage.
- Run the auto clicker.
- Observe behavior
Testing helps identify errors in your Auto Clicker Setup.
Step 9: Optimize for Performance
To achieve maximum efficiency, follow these tips:
- Close unnecessary applications
- Monitor CPU usage
- Adjust click speed if lag occurs.
Optimization is the final stage of your Auto Clicker Setup.
Best Settings for Maximum Efficiency
Here’s a quick overview:
| Use Case | Interval | Mode | Position |
| Gaming | 10–50 ms | Infinite | Fixed |
| Work | 100–500 ms | Fixed | Fixed |
| Testing | 50–200 ms | Custom | Fixed |
Choosing the right configuration ensures a perfect Auto Clicker Setup.
Common Mistakes to Avoid
❌ Setting Too Fast Speed
Leads to crashes and lag.
❌ Not Testing Setup
Causes incorrect clicks.
❌ Using Wrong Position
Results in errors.
❌ Ignoring System Performance
It may slow down your PC.
Avoiding these mistakes significantly improves your Auto Clicker Setup.
Advanced Tips for Power Users
- Use Random Intervals: Simulates human behavior.
- Multi-Point Clicking: Click multiple areas automatically.
- Combine with Macros: Automate complex workflows.
Advanced features can take your Auto Clicker Setup to the next level.
Safety and Best Practices
While using auto clickers:
- Avoid sensitive websites
- Follow platform rules
- Use trusted software
- Do not overload your system.
Responsible usage ensures a safe and effective Auto Clicker Setup.
Benefits of Proper Auto Clicker Setup
A well-configured auto clicker provides:
- Faster task completion
- Reduced manual effort
- Improved productivity
- Better accuracy
All these benefits depend on a proper Auto Clicker Setup.
When to Use an Auto Clicker?
Auto clickers are ideal for:
- Repetitive tasks
- Idle games
- Testing applications
- Basic automation
They are not suitable for complex or sensitive operations.
Conclusion
Setting up an auto clicker correctly is key to unlocking its full potential. From selecting the right tool to configuring intervals, positions, and hotkeys, each step plays an important role in achieving maximum efficiency.
A well-planned Auto Clicker Setup ensures smooth performance, saves time, and reduces manual effort. By following the steps and best practices outlined in this guide, you can optimize your workflow and make automation work for you.
Start with simple settings, test thoroughly, and gradually refine your configuration. With the right approach, your auto clicker can become a powerful tool for both gaming and professional tasks.